
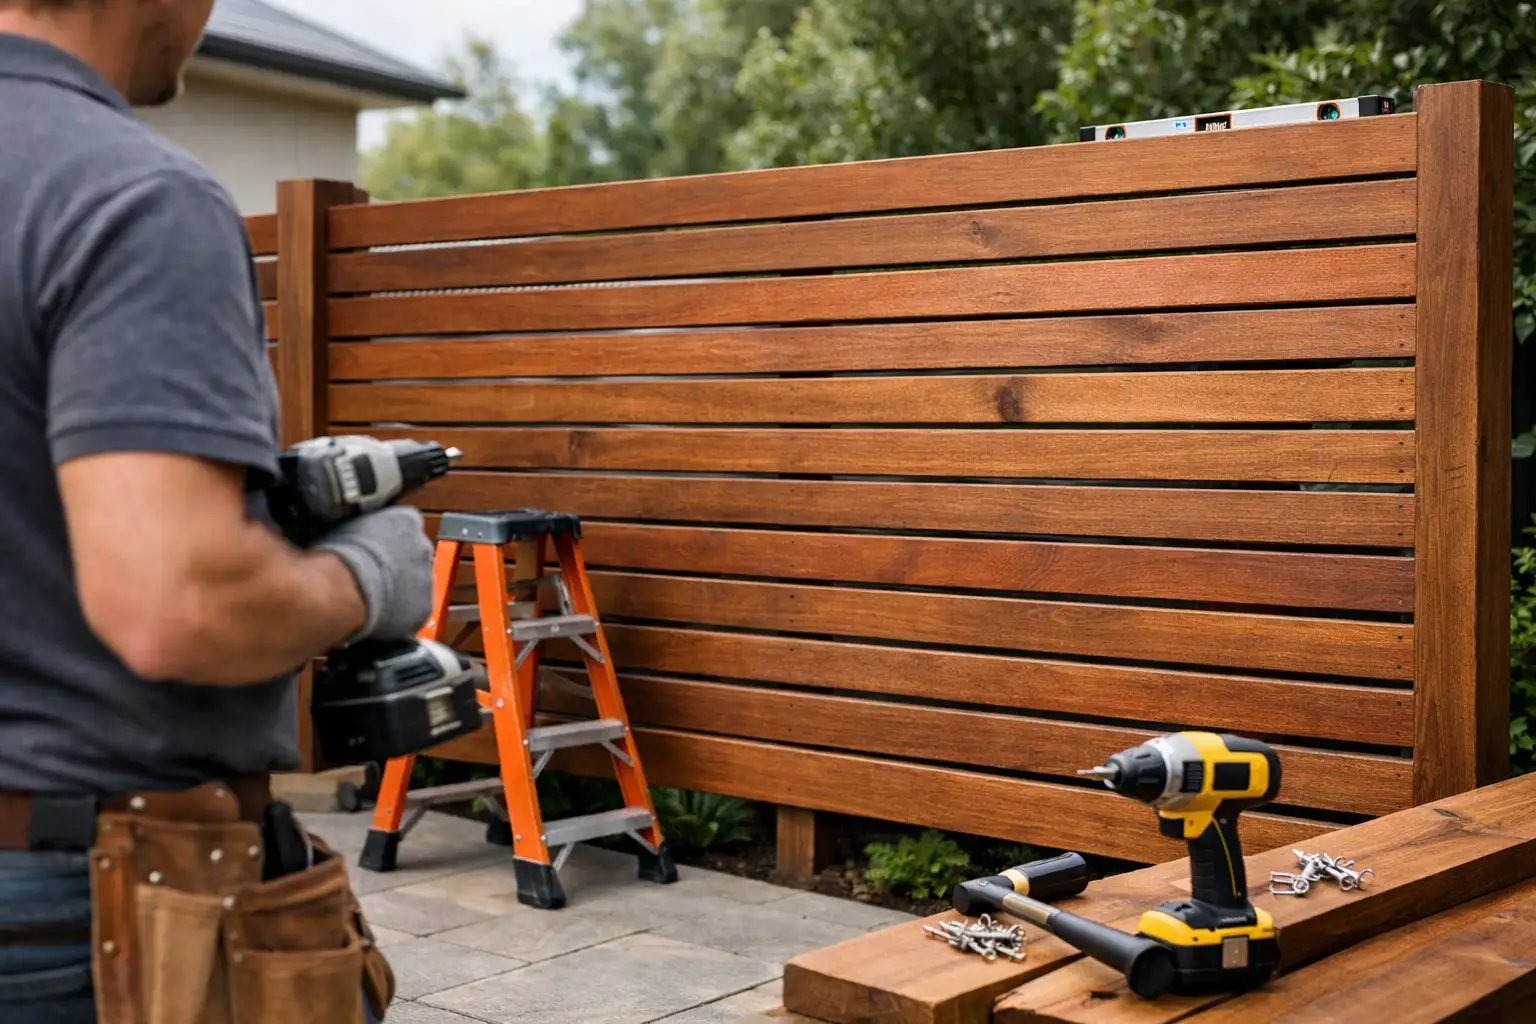
A well-built screen can turn an overlooked patio, pool edge or side yard into a space you actually want to use. But timber privacy screen installation is not simply a matter of fixing slats between a few posts. In the Northern Rivers, strong summer sun, heavy rain, humid conditions and, in coastal areas, salt air all affect how a timber screen performs over time.
The best result starts with the purpose of the screen. You may want to block a neighbour’s direct view, soften the look of a Colourbond fence, create shelter around an outdoor dining area or separate a garden zone without making the yard feel closed in. Each goal calls for a slightly different layout, height and timber choice.
Start with privacy, light and airflow
A solid screen gives the most privacy, but it can also block cooling breezes and make a smaller courtyard feel dark. That matters in Northern Rivers homes, where shade is valuable in summer but natural airflow can make outdoor areas far more comfortable.
For many properties, spaced vertical or horizontal battens provide a better balance. The angle of the view is important too. A screen that looks open from directly in front may still block sightlines from a neighbouring deck or upstairs window. Looking at the area from where you sit, stand and entertain helps determine how much coverage is really needed.
Screen placement should also work with the garden rather than compete with it. A timber feature behind a seating area can frame planting beautifully, while a screen set too close to a path may make access awkward. On narrow side boundaries, careful measuring is particularly important so gates, bins and maintenance access are not compromised.
Check boundaries and approvals early
Before building, confirm the property boundary and talk with any affected neighbour if the screen sits close to it. Fence and structure rules can differ depending on height, location, estate covenants and local planning requirements. Screens near pools, driveways or street frontages may have additional considerations.
A professional site inspection is the sensible time to identify these issues. It is much easier to adjust a plan before posts are in the ground than to alter a completed screen later. If underground services, irrigation lines or drainage pipes could be present, their location also needs to be checked before digging begins.
Choose timber for the site, not just the look
Timber brings warmth and texture that metal and composite materials cannot always match. It suits everything from relaxed coastal gardens to more structured contemporary landscapes. However, the right product depends on exposure, maintenance expectations and budget.
Treated pine is a practical, cost-effective option for many screens when it is rated for the intended outdoor use and properly sealed where cut. Hardwood can offer a premium finish and excellent durability, although it is heavier, often more expensive and needs suitable fixings. In exposed coastal locations, selecting corrosion-resistant hardware is just as important as choosing the timber itself. Standard fixings can stain, loosen or fail sooner when salt and moisture are regularly present.
The finish should be discussed before installation. Some homeowners prefer to let hardwood weather naturally to grey, while others want an oiled or stained finish that keeps a richer colour. Painted timber can create a crisp architectural look, but it requires proper preparation and ongoing touch-ups. There is no maintenance-free timber screen outdoors, particularly in humid or wet areas. The goal is to use sound materials and allow practical access for future cleaning, oiling or repainting.
Orientation changes the maintenance load
A screen facing harsh western sun may dry, move and fade faster than one protected by a veranda. A shaded southern side can remain damp for longer after rain, encouraging mould or mildew if airflow is poor. Trees can provide welcome shade, but falling leaves and branches may create extra cleaning and maintenance work.
These conditions do not rule out timber. They simply influence details such as batten spacing, sealing, drainage beneath the screen and the finish you choose. Local experience matters because the same design can behave very differently on a windy Lennox Head block, a humid Lismore backyard or a more sheltered Alstonville property.
Build the structure before the feature
A privacy screen is only as straight and durable as the frame supporting it. The visible battens may be the attractive part, but the posts, footings, rails and fixings do the hard work. Skimping on this structure often leads to leaning posts, rattling panels and uneven gaps after a season of wet weather and wind.
Post depth and footing size should suit the height of the screen, soil conditions and wind exposure. Northern Rivers soils vary significantly between properties. Sandy ground, reactive clay, sloping sites and areas with poor drainage all need a considered approach. On a hillside or near a retaining wall, the construction method may need to change to protect the site and keep the finished screen stable.
Keeping timber clear of constantly wet ground is another simple but valuable detail. Where possible, allow water to drain away from post footings and avoid trapping mulch or soil against lower rails. If the screen is tied into an existing fence, check that the fence is sound enough to support the connection. An old boundary fence should not be expected to carry the weight or wind load of a new screen.
A practical timber privacy screen installation process
Good workmanship shows long before the final batten is fixed. The job should begin with a clear conversation about privacy, preferred style, access, drainage and the surrounding garden. Measurements are then taken, levels checked and the line of the screen marked out.
Once the design and materials are agreed, the work area is prepared carefully. Existing plants worth retaining should be protected, and access through the property should be organised to minimise disruption. Posts are set accurately, then rails and framing are installed level and square. This gives every batten a consistent base.
Batten spacing is set with a spacer rather than estimated by eye. Small inconsistencies are obvious once sunlight hits the screen, especially with horizontal designs. Fixings should be positioned neatly and selected for the timber and exposure. Cut ends are treated or sealed as required, and the completed screen is checked for alignment, secure connections and clean edges.
The site should be left tidy, with offcuts and packaging removed and nearby garden beds reinstated where needed. This may sound basic, but it makes a real difference when the screen is part of a larger garden improvement rather than a stand-alone construction job.
Make the screen part of the landscape
The strongest designs use the screen as a backdrop, not a barrier. Layered planting can soften its base and help it settle naturally into the yard. For sunny, warm positions, hardy choices may include lomandra, native grasses, westringia or other drought-tolerant plants suited to the site. In protected, shadier areas, the planting palette can be adjusted to suit available light and drainage.
Consider how the screen will look from inside the home as well as from the garden. A simple timber screen can turn the view from a kitchen window into a green focal point once planting is established. It can also provide a practical support for lighting, although any electrical work should be completed by the appropriately licensed trade.
For a complete outdoor update, screen installation can be planned alongside paving, turf, garden edging, irrigation or a garden clean-up. Coordinating these elements avoids damaging fresh lawn or established plants while posts are being installed.
Budget for the details that protect the result
The cost of a screen varies with its size, height, timber species, access and site conditions. Straightforward work on level ground is generally simpler than a screen on a slope, around existing structures or in an area with limited access. Decorative batten patterns, integrated gates, retaining requirements and premium finishes can also affect the quote.
The cheapest approach is not always the best value if it leaves you with undersized posts, poor-quality fixings or timber that is unsuitable for the exposure. A clear quote should set out the proposed materials, construction scope and any site factors that may affect the work. It gives you a realistic basis for comparing options rather than simply comparing a final price.
A timber screen should feel like it has always belonged in the garden: private where it needs to be, open enough to catch the breeze and built to handle local conditions. Evolve Gardens & Landscaping can assess your site and provide a free, no-obligation quote that suits the way you want to use your outdoor space.